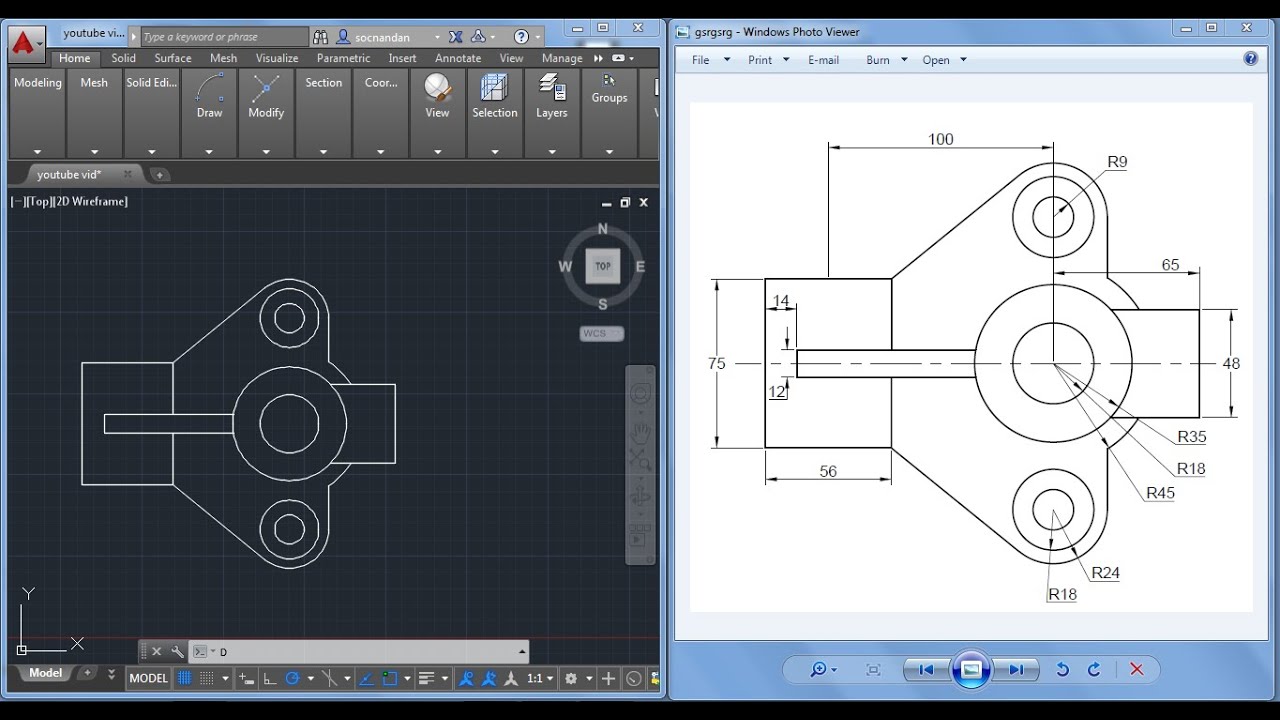
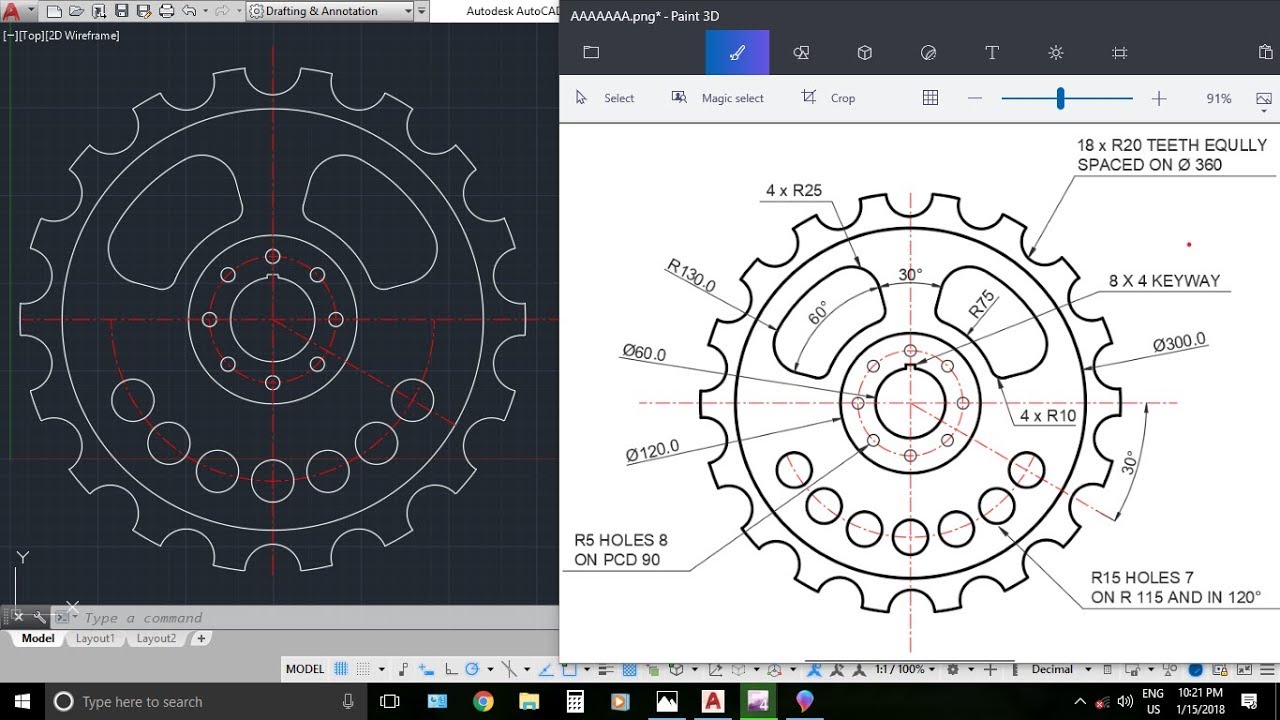
AutoCAD drawing is a powerful tool used by professionals across various industries to create precise and detailed technical drawings. Whether you’re an architect designing a skyscraper, a mechanical engineer crafting intricate machine parts, or a civil engineer planning infrastructure projects, AutoCAD provides the necessary tools and functionalities to bring your ideas to life.
Table of Contents
From the basic elements of the interface to advanced techniques like parametric design and dynamic blocks, this guide explores the world of AutoCAD drawing, covering everything from fundamental concepts to practical applications. We’ll delve into the essential tools, explore the creation of both 2D and 3D drawings, and discuss the importance of industry standards and best practices. Get ready to unlock the potential of AutoCAD and transform your design ideas into tangible realities.
Creating 2D Drawings in AutoCAD
AutoCAD is a powerful software used for creating 2D and 3D drawings. It offers a wide range of tools and features that enable users to design, draft, and document various projects. This section will focus on creating basic 2D drawings in AutoCAD, covering essential steps and concepts.
Setting Up Units and Layers
Setting up units and layers is crucial for organizing and managing your drawings effectively. Units define the measurement system used in the drawing, while layers help to categorize and control different elements.
- Units: Go to the “Options” dialog box (accessible through the “Tools” menu or by typing “OPTIONS” in the command line) and select the “Units” tab. Here, you can choose the desired units (e.g., millimeters, inches, feet) and specify the precision required for displaying and dimensioning. It is important to select units that align with the project’s requirements.
- Layers: Layers provide a hierarchical structure for organizing drawing elements. They can be used to group objects based on their function, type, or purpose. To create a new layer, go to the “Layer Properties Manager” (accessible through the “Home” tab or by typing “LAYERS” in the command line). You can then create new layers, assign colors, line types, and other properties to them. A well-defined layer structure makes it easier to manage, edit, and control different parts of the drawing.
Dimensioning Tools
Dimensioning is a critical aspect of 2D drawings, providing accurate measurements and annotations to the design. AutoCAD offers various dimensioning tools that enable users to add dimensions, radii, diameters, angles, and other geometric properties to their drawings.
- Linear Dimensions: These dimensions measure the distance between two points, often used for lines, arcs, and circles.
- Angular Dimensions: These dimensions measure the angle between two lines or arcs.
- Radial and Diametric Dimensions: These dimensions measure the radius or diameter of circles or arcs.
Creating and Editing Blocks
Blocks are reusable objects that contain a collection of geometric entities, such as lines, arcs, and text. They allow users to create complex components and symbols that can be easily inserted and modified throughout the drawing.
- Creating Blocks: To create a block, select the objects that you want to include in the block and then use the “Block” command. You can specify a name for the block and a base point for its insertion. The block definition will be saved and can be inserted later into the drawing.
- Editing Blocks: Blocks can be edited by double-clicking on them, which opens the block editor. This allows you to modify the individual objects within the block definition. Any changes made to the block definition will be reflected in all instances of the block in the drawing.
AutoCAD Drawing Standards and Best Practices

Following drawing standards and best practices in AutoCAD is crucial for creating clear, organized, and efficient drawings. These standards ensure consistency, improve collaboration, and facilitate easy understanding of the design intent.
The Importance of Standards and Best Practices, Autocad drawing
Drawing standards and best practices streamline the design process, enhance communication, and improve the overall quality of drawings. They ensure that drawings are consistent, easily understood by all stakeholders, and readily adaptable for various purposes.
The Role of Layers, Colors, and Line Types
Layers, colors, and line types play a fundamental role in organizing AutoCAD drawings. They provide a structured approach to managing different drawing elements, ensuring clarity and ease of modification.
- Layers: Layers are like separate drawing sheets stacked on top of each other. Each layer can contain specific elements, such as walls, doors, windows, or furniture. This organization allows you to control the visibility and properties of different elements independently.
- Colors: Colors are used to differentiate various elements within a drawing. For instance, walls might be assigned a specific color, while doors and windows are assigned different colors. This visual distinction helps to quickly identify and understand the different components of the drawing.
- Line Types: Line types are used to represent different types of lines in a drawing. Solid lines might be used for visible edges, while dashed lines might represent centerlines or hidden edges. This distinction helps to convey the intended meaning of the lines in the drawing.
Industry-Specific Standards and Best Practices
Different industries have established their own specific standards and best practices for AutoCAD drawings. These standards ensure that drawings are consistent within the industry and meet the specific requirements of the project.
- Architectural Drawings: Architectural drawings often follow standards established by organizations like the American Institute of Architects (AIA). These standards dictate the use of specific layer names, colors, and line types for different architectural elements. For example, the AIA standard might specify that walls should be on a layer called “Walls” and be represented in a specific color, while doors and windows should be on separate layers with distinct colors.
- Mechanical Drawings: Mechanical drawings typically follow standards set by organizations like the American Society of Mechanical Engineers (ASME). These standards define the use of specific line types, dimensions, and annotations for different mechanical components. For example, ASME standards might specify that centerlines should be represented with a specific dashed line type and that dimensions should be placed in a specific format.
- Electrical Drawings: Electrical drawings adhere to standards established by organizations like the National Electrical Manufacturers Association (NEMA). These standards define the use of specific symbols, line types, and annotations for different electrical components. For example, NEMA standards might specify that electrical conductors should be represented with specific line types and that circuit breakers should be represented with specific symbols.
Collaboration and Data Management
Collaboration is essential for successful AutoCAD projects, especially in large and complex projects where multiple teams or individuals work together. Effective collaboration ensures consistent design standards, reduces errors, and optimizes project efficiency.
Cloud-based Platforms for Collaboration
Cloud-based platforms play a crucial role in facilitating collaboration in AutoCAD projects. These platforms provide a centralized repository for storing and sharing drawings, enabling real-time collaboration and seamless data management.
- Real-time Collaboration: Cloud platforms allow multiple users to work on the same drawing simultaneously, eliminating the need for constant file transfers and reducing potential conflicts.
- Centralized Data Management: Drawings are stored securely in the cloud, making them accessible from anywhere with an internet connection. This ensures all team members have access to the latest version of the drawings.
- Version Control: Cloud platforms track changes made to drawings, allowing users to revert to previous versions if needed. This ensures accountability and prevents accidental data loss.
- Collaboration Tools: Many cloud platforms offer additional collaboration tools, such as chat, comments, and annotations, facilitating communication and feedback among team members.
External References (Xrefs)
External references (Xrefs) are a powerful tool in AutoCAD for managing large and complex drawings. Xrefs allow you to link external drawings into your current drawing, providing a way to manage and update drawings without duplicating data.
- Modular Design: Xrefs enable a modular approach to design, where different parts of a project can be developed and managed independently. This facilitates collaboration among different teams working on different aspects of the project.
- Centralized Updates: Changes made to the Xref file are automatically reflected in the main drawing, ensuring consistency and eliminating the need to manually update each drawing.
- Efficient Data Management: Xrefs help reduce file size and complexity, making it easier to manage and navigate large projects.
Final Summary: Autocad Drawing

AutoCAD drawing empowers individuals and teams to collaborate, innovate, and create with precision. As technology continues to evolve, the role of AutoCAD in design and engineering will only become more significant. By embracing its capabilities and staying abreast of emerging trends, you can harness the power of AutoCAD to shape the future of design and engineering.
AutoCAD drawing is a powerful tool for creating precise and detailed technical drawings. Whether you’re designing buildings, mechanical parts, or electrical circuits, AutoCAD offers a wide range of features to help you bring your ideas to life. For students looking to gain valuable experience with this software, Autodesk offers a dedicated program called autodesk student , which provides access to a range of software, including AutoCAD, at a discounted price.
With this program, students can hone their skills and gain a competitive edge in the field of design and engineering.
